

















Earlier this month, Zimbra introduced an installer script, named zinstaller, which takes care of the entire installation of Zimbra server in just three simple commands.
The installer is compatible, at this point, with Ubuntu 18 and Ubuntu 20 operating systems. In this article we will show you, step-by-step, how to get a Zimbra 9 server deployed using the automatic installer.
Step 1 – Deploy Ubuntu 20.04 Virtual Server
Any Virtual Server (VPS) ordered from NetShop ISP is deployed within 30 seconds. Simply go to the Virtual Servers page and choose your desired VPS plan. Here are the minimum hardware specifications for a Zimbra 9 OSE:
- 16GB RAM
- 4 vCPU
- 10GB of Hard Disk
During the checkout process you will be asked to choose Operating System. Choose Ubuntu 18.04 or Ubuntu 20.04 and you are good to go!
Step 2 – Create Hostname & MX Record
Once your Ubuntu Server is ready login as root and run this command:
hostnamectl set-hostname mail.mycompany.comNow, login to your Domain Registrar and create the following DNS records:
Hostname: mail.mycompany.com
TTL: 600
DNS Record Type: A
IP Address: your_ubuntu_server_IP_address
and
Hostname: mycompany.com (or “@”)
TTL: 600
DNS Record Type: MX
Priority: 0
MX Record: mail.mycompany.com (or your_ubuntu_server_IP_address)
Step 3 – Run the zInstaller script
Once the DNS propagation completes, your Ubuntu server should be reachable under mail.mycompany.com. You are now ready to install Zimbra 9 server using the zinstaller script.
As root, enter the following commands on your Ubuntu server:
wget https://raw.githubusercontent.com/Zimbra/zinstaller/master/zinstaller -O /root/zinstallerThen type:
chmod +x /root/zinstallerFinally, run the installer script using the following command with these parameters:
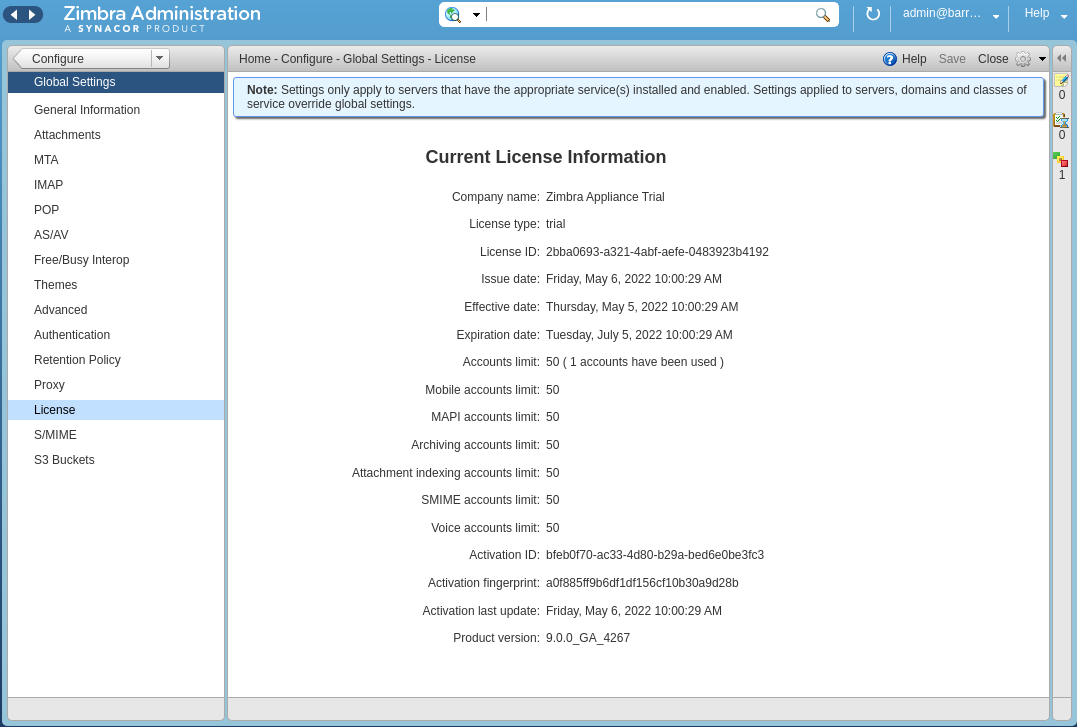
/root/zinstaller -p put-a-password-here -n mail -t 'Europe/London' mycompany.comYou are done! Your Zimbra 9 server has been successfully installed using a 90-day trial license.